
Last updated November 17, 2026
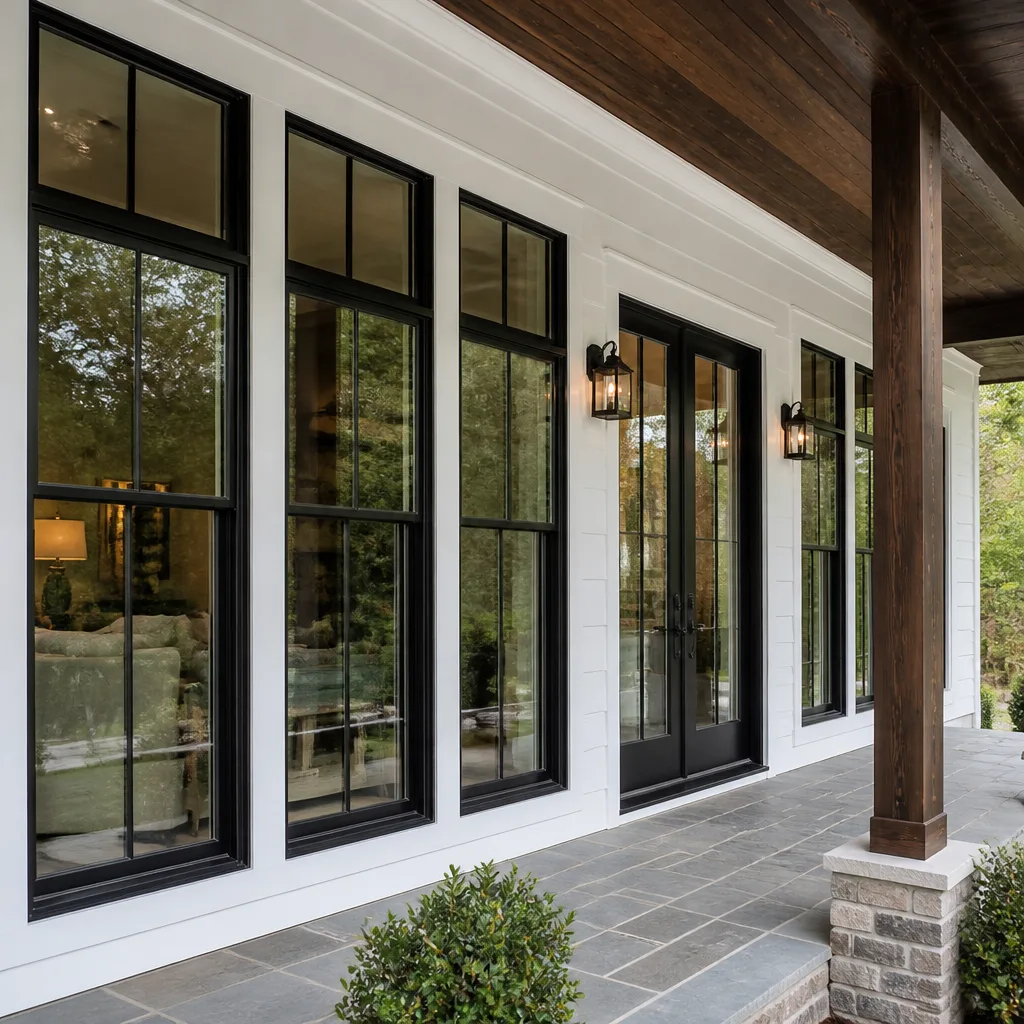 Windows & doors
 Kitchen remodeling
 Bathroom remodeling
 Home additions & ADU
 Roofing
 Driveway & pavers
 Fence
Free written scope consultation - allowances, timeline, and change-order rules on paper before a single trade is scheduled
DIY vs Professional Windows & Doors: What’s Safe to Do Yourself
Swapping an interior door looks like a Saturday job. Replacing the exterior door it hangs next to is a different animal, because in most California jurisdictions that project needs a permit and an energy compliance certificate on file before the first screw goes in. Here’s the part most homeowners don’t learn until the inspector’s notice shows up: the “easy” weekend project they pictured is the one that carries paperwork. This guide breaks the work down task by task so you know exactly what you can do yourself in Glendale, what you shouldn’t touch, and where a pro earns the money.
Quick Answer
Interior prehung door swaps and window hardware replacement (locks, cranks, weatherstripping) are legitimate DIY projects for a careful homeowner. Exterior windows, entry doors, and anything that involves cutting or modifying a structural header are not. In Glendale and across California, exterior window and door replacements also trigger energy code requirements and often a permit with inspection documentation, which is why most of that work belongs with a licensed contractor.
Styles & brands we work with
- Kitchen remodeling
- Bathroom remodeling
- Home additions & ADU
- Roofing
- Windows & doors
- Driveway & pavers
- Fence
Table of Contents
- What’s Actually Safe to Do Yourself
- Why California Treats Exterior Doors and Windows Differently
- The Rough Opening Problem Nobody Warns You About
- Flashing and Weather Barrier: What Correct Looks Like
- Permits, HERS Testing, and What It Costs
- Why the Window Brand Matters as Much as the Install
- Common Mistakes to Avoid
- When to Call a Professional
What’s Actually Safe to Do Yourself
Let’s be honest about the split. Some of this work rewards a homeowner with patience and a good level. A lot of it doesn’t, and the line isn’t where most people think it is. Here’s how it shakes out in our experience.
Real DIY
- Interior prehung door swaps. Pull the old casing, set the new prehung unit in the opening, shim it plumb, nail the casing back. No permit, no code compliance, no weather exposure. If the existing rough opening is close to square, this is a weekend job.
- Window hardware replacement. New locks, cranks, sash operators, and weatherstripping on existing windows. These are cosmetic and mechanical fixes that don’t affect the envelope.
- Interior doors and closet doors. Sliding door rollers, track replacement, and bi-fold adjustments are all reasonable to do yourself.
- Storm door installation on an existing frame. A surface-mount storm door that attaches to an existing exterior frame usually doesn’t require permit work. If it involves cutting into the wall, it’s a different story.
Not DIY
- Exterior window replacement. Envelope penetration, permit, energy compliance documentation, flashing, and structural consequences if the rough opening is wrong.
- Entry door replacement. Same reasons, plus the security and energy code issues that come with it.
- Sliding patio door replacement. Often structural, always envelope work.
- Anything touching a header or load-bearing framing. A lintel above a window or a header above a door isn’t something to modify on a Saturday afternoon.
Notice the pattern? The boundary is the building envelope. Anything inside the weather barrier and outside the structural framing is fair game. Anything that penetrates either is not.
Why California Treats Exterior Doors and Windows Differently
Here’s the piece most homeowners miss when they picture a weekend window swap. California’s Title 24 energy code sets performance requirements for exterior windows and doors. When you replace one, the new unit has to meet the current prescriptive standards for the climate zone you’re in, and in many cases the work needs a permit with compliance documentation filed at the time of permit pull.
Glendale sits in a climate zone where the summer heat load is real and the winter swings are moderate. That means window replacements need to hit specific U-factor and SHGC (solar heat gain coefficient) numbers. Our crews regularly pull windows from Andersen and Marvin because both brands publish the certified performance values you need to hand the building department. A cheaper window from an unknown label might install fine and still fail the inspection because the paperwork doesn’t match the code requirement.
What the process actually involves:
- Permit application. Window and door replacement permits in Glendale and neighboring jurisdictions (Burbank, Pasadena, La Crescenta) are handled at the city building department level. The contractor files the scope, the product specifications, and the energy compliance forms.
- Product specification. The window schedule has to match what you’re actually installing. Model numbers, glass packages, and frame materials all need to be documented.
- HERS testing where required. Some window replacements require HERS verification (Home Energy Rating System), which is an independent third-party inspection that confirms the installed product matches the permit. Not every project needs it, but many do, and the requirements have tightened over the last several code cycles.
- Rough-in and final inspection. The inspector verifies installation method, flashing, and product match. This is where documentation gaps become real problems.
The HERS rater and permit fees together typically add a few hundred dollars to a project, and the paperwork alone is why we tell Glendale homeowners the exterior work isn’t a realistic DIY project.
The Rough Opening Problem Nobody Warns You About
This is the part of window replacement that separates “looks easy” from “actually hard.” The rough opening is the framed hole in the wall your new window drops into. It was built by whoever framed the house, and it’s never perfectly square, plumb, or level. That’s normal. What matters is how far off it is, and what you do about it.
Here’s the tolerance reality:
- Up to roughly 1/4 inch out of square, plumb, or level. Shim it. Standard shims work fine, and you’ll still get a clean, weather-tight install.
- Between 1/4 and 1/2 inch out. You can still shim it, but the shim stack gets tall. Tall shim stacks compress over time, which can throw the window out of square, bind the sash, or compromise the seal. A careful installer accounts for this. A first-timer usually doesn’t.
- More than 1/2 inch out. The rough opening needs to be rebuilt, reframed, or extended before a new window goes in. There’s no shortcut here. If you shove a window into an opening that far out of square, the frame will bow, the gap on one side will need caulk or trim to hide, and the first hard rain will find it.
Which dimension to split the difference on is a judgment call that comes from experience. Wrong call means the window leaks. Right call means it’s invisible for thirty years.
In Glendale, we see this in older homes across neighborhoods like Adams Hill and Sparr Heights, where 1920s framing has had a century to move. It’s a common story. A homeowner pulls the old window, discovers the rough opening is way out of square, and either has to rebuild the opening themselves or call someone in. Rebuilding it correctly means reframing the opening, reinstalling the weather barrier, and starting over. The job that looked like a Saturday is now a two-week project with a permit and specialty framing work involved. That’s exactly the point where calling it is the right decision.
For any homeowner thinking about a larger structural change, our team at Home Additions & ADU in Glendale can walk through what’s actually involved in framing around an opening and what permits it triggers.
Flashing and Weather Barrier: What Correct Looks Like
Flashing is the metal and membrane system that routes water away from the window and down the wall. It’s the single most consequential step in a window installation and the single most common one to skip when a homeowner does it themselves or a low-bid installer cuts corners.
Done correctly, the installation goes like this:
- Weather barrier installed first. The house wrap or building paper is applied to the wall before the window goes in, and the barrier laps over the framing correctly (top laps over side, side laps over bottom).
- Sill pan flashing installed. A sloped sill flashing sits at the bottom of the rough opening and directs any water that gets behind the window out and down. This is the piece most often missing on DIY installs.
- Window set, shimmed, and checked for square and plumb.
- Side and head flashing installed. The side flashing laps over the sill flashing, then the head flashing laps over the side flashing. Top over bottom, always.
- Weather barrier lapped over the flanges. The wall barrier overlaps the window flanges on the sides and top, creating a shingled water-shedding system.
- Sealant applied correctly. Sealant is a backup, not a substitute for flashing. If the flashing is right, the sealant is a secondary line of defense. If the flashing is wrong, the sealant will fail in year 2 or 3.
The most common skip? No sill pan flashing. Or a window installed without a proper drip cap that simply gets caulked to the wall. It holds for a while, then the caulk fails, and water works its way behind the window. By the time the homeowner notices moisture on the drywall or a stain on the ceiling, the damage has been running for months. In Glendale, we get the call during the first rain after a DIY install almost every winter. Our Barrett & Sons Construction Glendale home page lists the trades we cover when the damage hits more than one system at once.
Permits, HERS Testing, and What It Costs
Here’s a rough breakdown of what the paperwork side of an exterior window replacement looks like in cost. These are typical ranges we see across Glendale and the surrounding areas. Every jurisdiction is a bit different, and every window schedule has its own requirements.
- Building permit for window replacement: typically $150 to $400 for a residential project, depending on the number of openings and the jurisdiction’s fee schedule.
- HERS testing and verification, when required: typically $150 to $300 per project, paid to the third-party rater.
- Energy compliance documentation (Title 24 forms): usually handled by the contractor as part of the permit package, though some jurisdictions charge a review fee.
- Inspection and re-inspection: included with the permit, but any correction requiring a second visit adds time and often a small re-inspection fee.
Add the labor and material on top of that and a full exterior window replacement is a meaningful investment. Which is exactly why “I’ll just do it myself and skip the paperwork” feels tempting. The problem: unpermitted window replacements can become a real issue at resale. Buyers’ inspectors flag them, lenders sometimes refuse to close until they’re addressed, and retroactive permitting in Glendale can require opening up the wall to verify installation. The savings are often smaller than they look and the risk is often larger.
Our crews pull permits and sign inspections on every eligible job because the story we hear most is the one where the last contractor said permits were optional. They aren’t. The inspector works for the homeowner, not for the contractor, which is why we like him.
Why the Window Brand Matters as Much as the Install
You can do a perfect installation of a bad window and lose the value of the work in five years. You can also install a great window badly and lose it in two. The two are linked.
What the brand gets you:
- Published, certified performance values. Andersen and Marvin both publish U-factor, SHGC, and structural ratings that the building department can verify against the permit. Without those numbers you have an inspection problem.
- Parts availability. Sash, crank, and lock replacement parts stay in stock for decades on the major brands. A no-name window from a warehouse that closed two years ago is a window you can’t service.
- Warranty that runs with the product. The major brands back their products with documented warranties that follow the window, not just the installer. Off-brand units often leave you with nothing once the installer’s warranty window closes.
- Consistency in the rough opening. A brand that publishes exact unit dimensions lets the installer verify the rough opening against the product spec before anything is pulled apart. Cheap windows change dimension between production runs.
We carry Andersen and Marvin alongside the other brands we install across our trades, like Driveway & Pavers in Glendale where we lean on Belgard and Techo-Bloc for the same reason. Look the brand up. Look the spec sheet up. If the label on the window doesn’t appear in a manufacturer’s published documentation, that’s a problem you don’t need.
Common Mistakes to Avoid
- Assuming an exterior door swap is permit-free because it feels like an interior swap. It isn’t. Entry door replacement in Glendale and neighboring jurisdictions triggers energy code compliance and usually requires a permit, even though it feels like the same weekend job as an interior door.
- Shimming a rough opening that’s more than a half-inch out of square instead of rebuilding it. The window will fit. The window will not work, and it will leak the first winter. Our crews rebuild the opening when it needs rebuilding, which is why the permit documentation lines up with what’s actually installed.
- Skipping the sill pan flashing. This is the single most common shortcut we see on both DIY and low-bid installs, and it’s the piece that fails first. By the time the leak shows up inside the house, the wall cavity has been wet for months.
- Buying a window on price alone. The permit requires certified performance values. The warranty requires a real manufacturer. A $200 cheaper window isn’t cheaper if it fails inspection or has no parts available in five years.
- Caulking over the flanges instead of flashing under them. Caulk is a secondary defense, not the primary one. If the flashing is right, the caulk doesn’t need to be perfect. If the flashing is missing, the caulk won’t save the window.
- Not pulling the permit, then discovering the problem at resale. Unpermitted window replacements can stop a sale cold. Retroactive permitting in Glendale can require opening the wall to verify installation, and the cost of undoing bad work is often higher than the cost of doing it right the first time.
- Letting a volunteer crew or handyman install an entry door. The door is your main security barrier, your main air barrier, and often part of the structural envelope above it. This isn’t the place to save the labor cost.
Anyone on your street who has replaced windows in the last ten years will tell you the same thing. Ask them. Or look up the license number yourself before the first screw goes in.
When to Call a Professional
Call a professional whenever the work touches the building envelope, involves a header or load-bearing framing, or requires permit and inspection documentation that has to hold up at resale. Exterior window replacement, entry door replacement, sliding door replacement, and any project where the rough opening needs rebuilding all fall into that category. So does anything where the window or door line is above a sleeping area, a stairwell, or an exterior wall with existing water intrusion. Aesthetically-driven interior swaps and hardware replacement stay in the DIY lane. Barrett & Sons Construction Glendale offers free estimates in Glendale. Call (844) 560-4526 and we’ll walk the openings with you, tell you which ones are safe to do yourself, and quote the ones that aren’t. No trip charge inside the county, and if you already have a written estimate from another contractor, we’ll give you a free second opinion on it.
See the difference
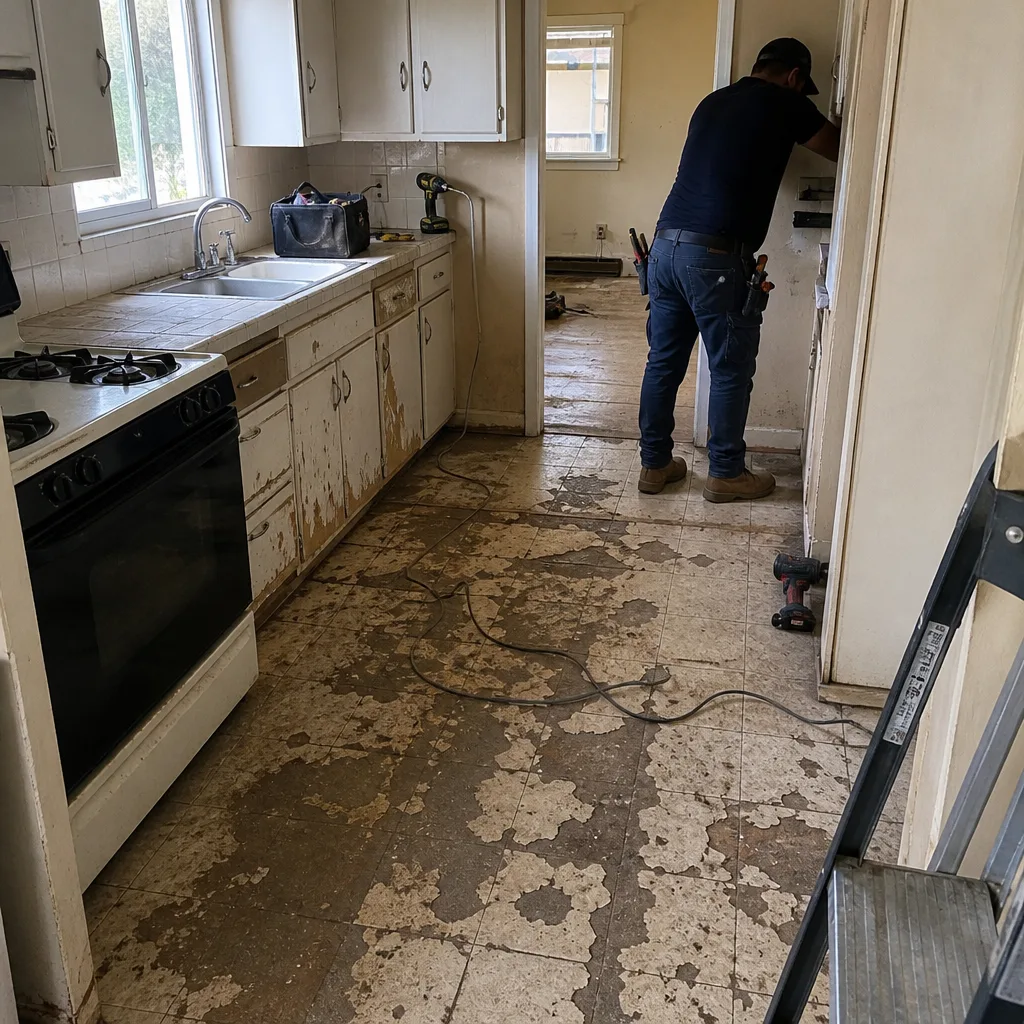 Before
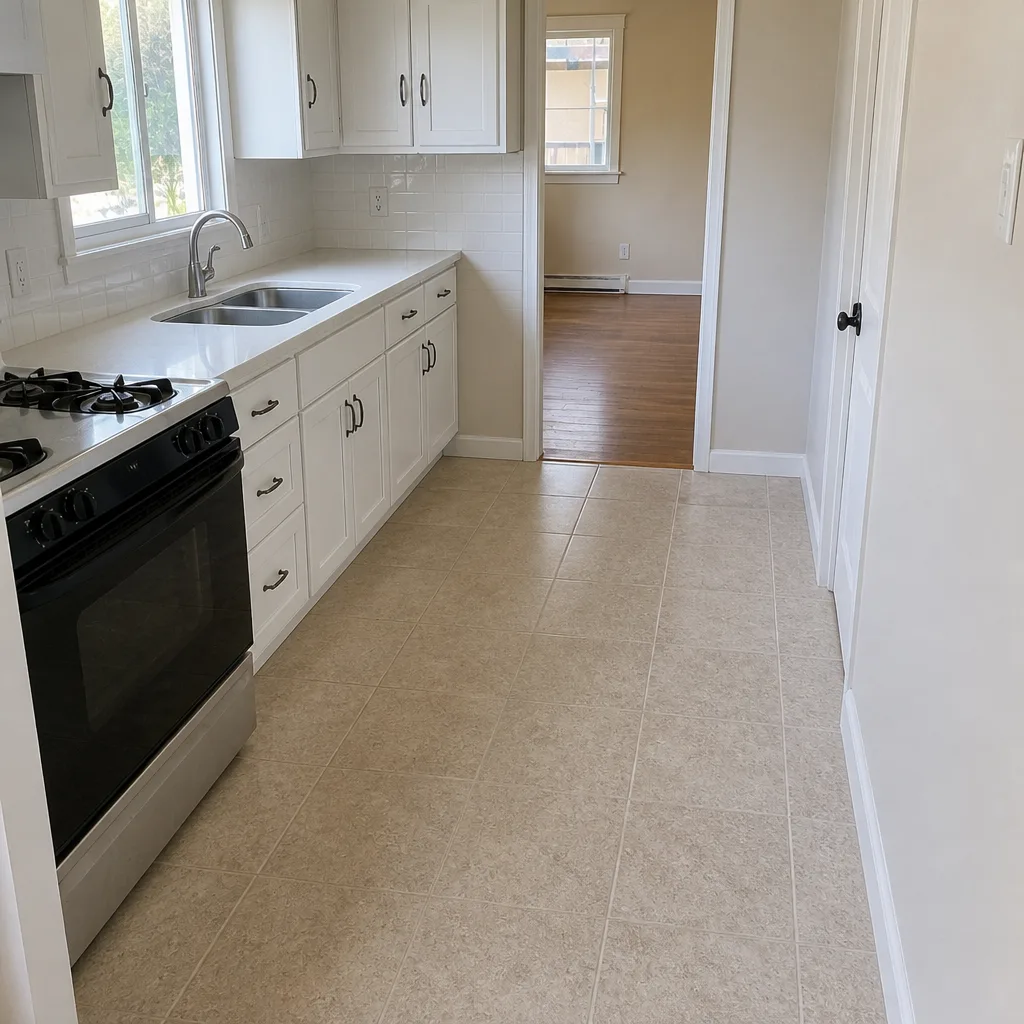 After
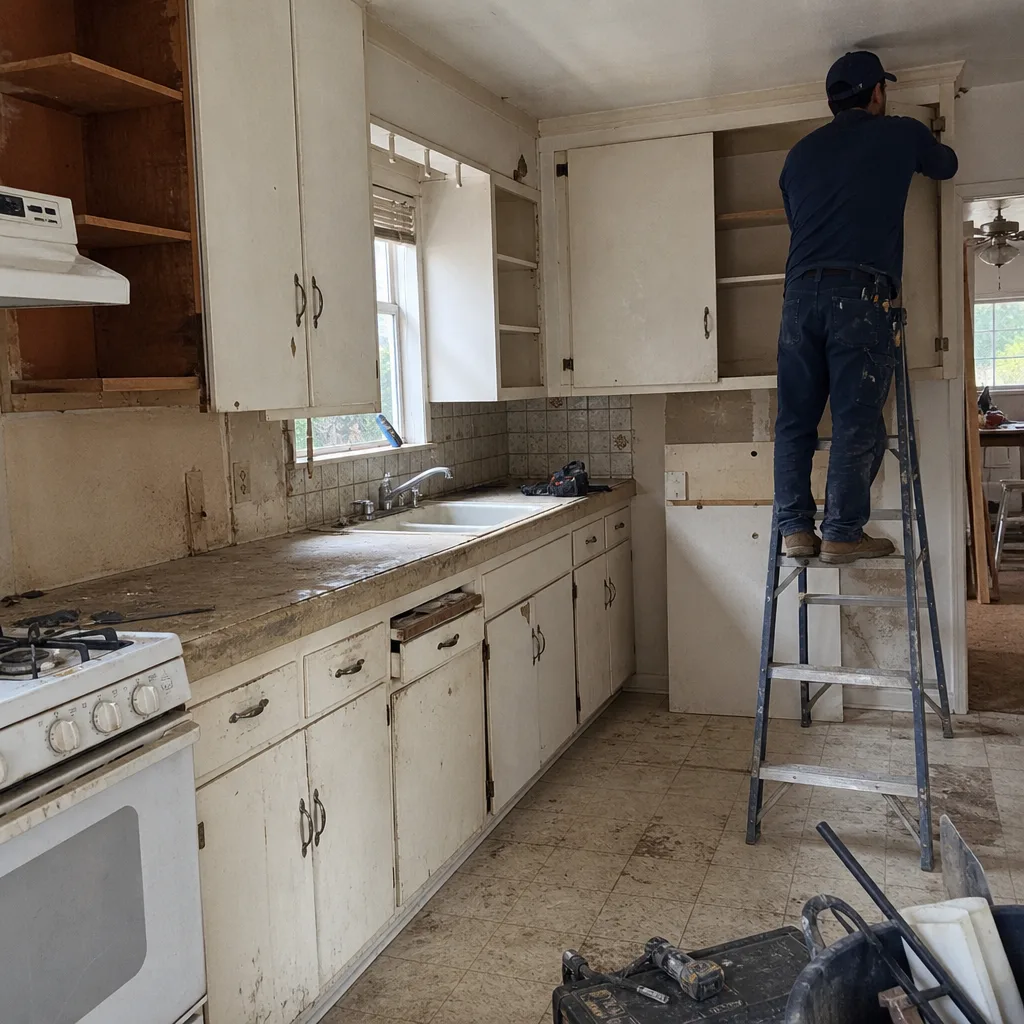 Before
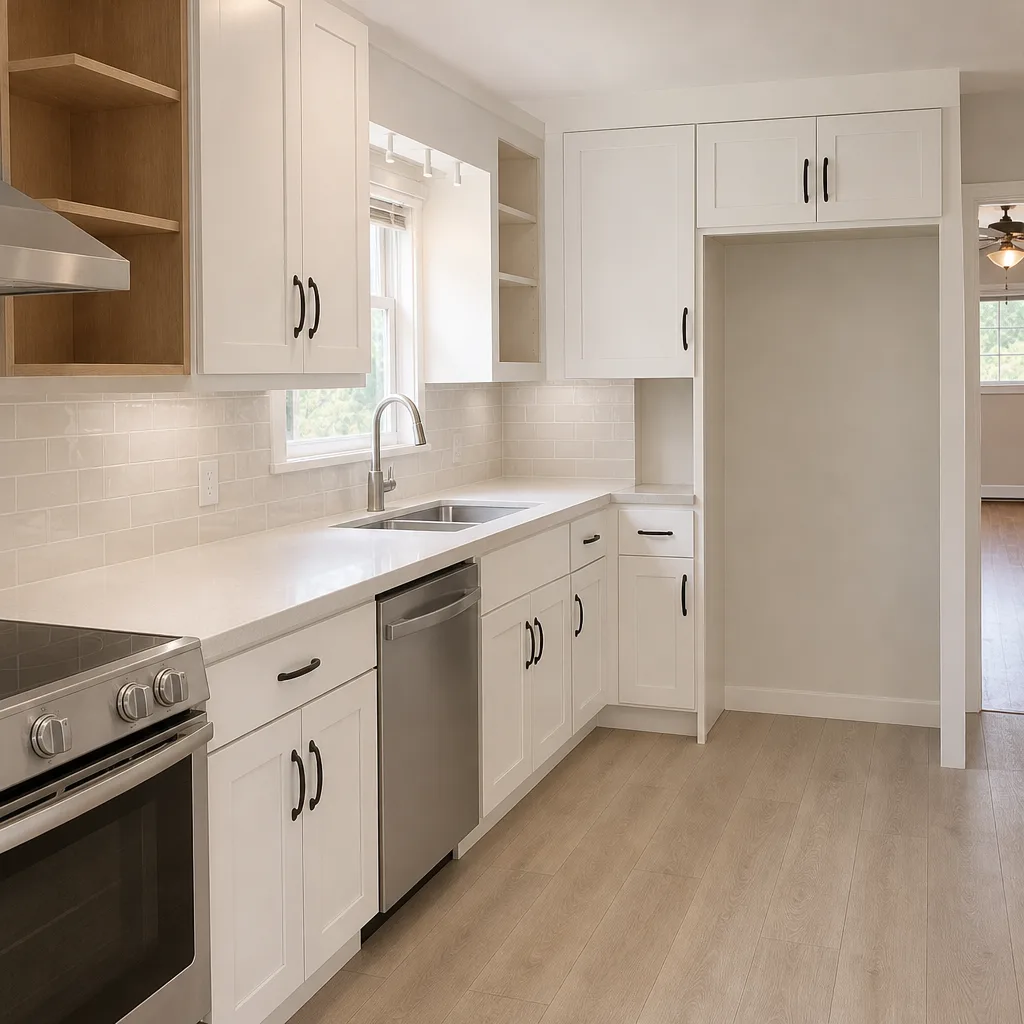 After
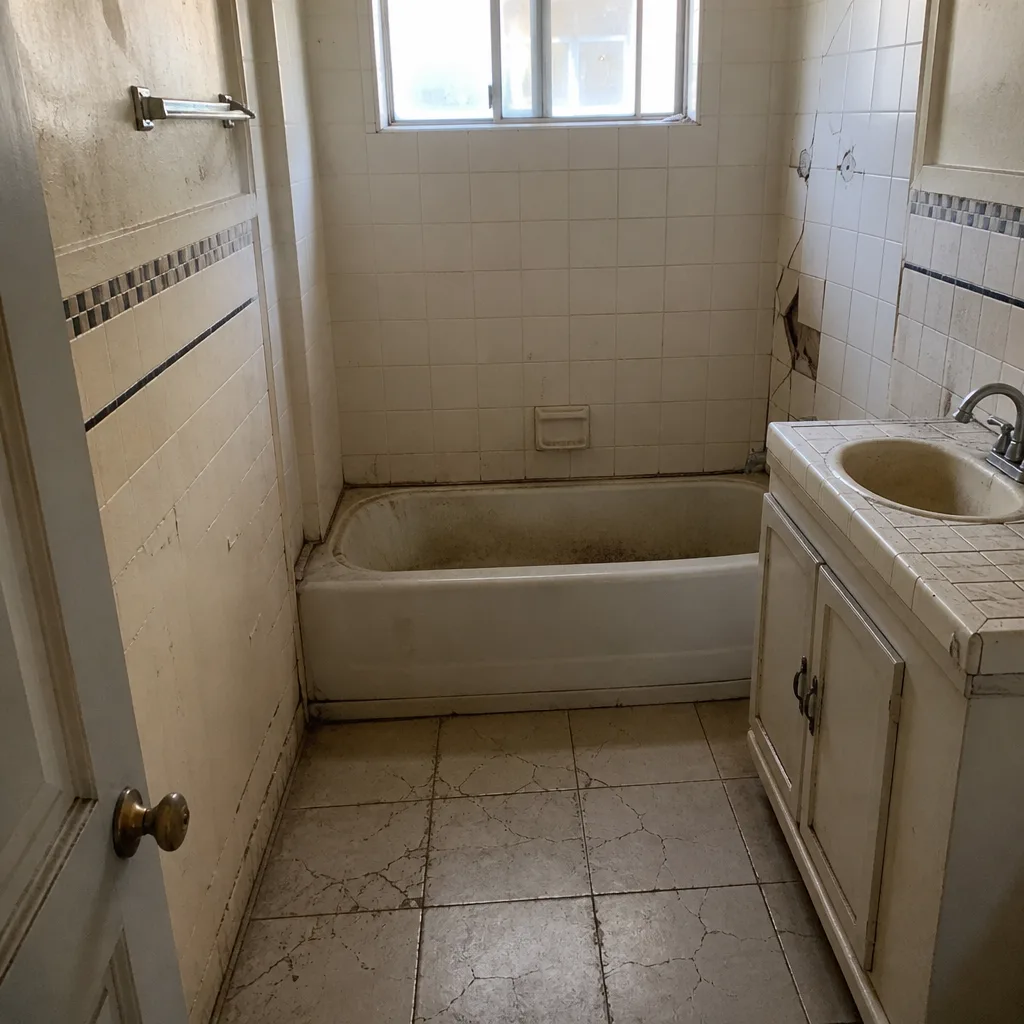 Before
 After
Frequently Asked Questions
Not realistically, because California energy code requirements mean most exterior door replacements require a permit and energy compliance documentation at the time of the permit pull, and installation has to match the documentation at inspection. Interior door replacements are a different story entirely and are fair game for a careful homeowner. If you’re looking at the exterior door and wondering, call (844) 560-4526 for a free estimate.
Window hardware replacement (locks, cranks, weatherstripping) is a legitimate DIY job. Full window replacement is not, because the rough opening tolerance, the flashing sequence, and the energy compliance paperwork all have to come together correctly on the same day. Getting the rough opening wrong means the window leaks the first time it rains. Getting the paperwork wrong means the inspection fails. Call (844) 560-4526 for an exact quote on a full replacement – the estimate is free.
Building permit fees for a residential window replacement in Glendale typically run $150 to $400 depending on the number of openings, and HERS verification (when required) adds $150 to $300. Total paperwork cost on a mid-size project usually lands between $300 and $700. The exact number depends on the scope and the current fee schedule. Call (844) 560-4526 and we’ll walk through the fees for your specific project.
You measure it. Check the diagonals (corner to opposite corner on the rough opening) and compare them – any difference over about 1/2 inch means the opening needs rebuilding, not shimming. Between 1/4 and 1/2 inch you can shim, but you need to watch the shim stack height so it doesn’t compress over time. Under 1/4 inch is standard and a careful install handles it. If you’re not comfortable reading the measurements, that’s the point to call. (844) 560-4526 gets you a free estimate.
Skipping the sill pan flashing. The window looks installed correctly, it passes the eye test, and it leaks behind the wall within a year or two because there’s no sloped flashing directing water out of the rough opening. The most common second-place mistake is shimming an out-of-square opening that should have been rebuilt first. Both problems are invisible until they’re expensive. Call (844) 560-4526 before you open up the wall – we’ll tell you honestly whether it’s a DIY project.
Often not, and this is a detail that surprises people after a leak. Many policies exclude damage caused by faulty workmanship or improper installation, which means the water damage from a bad DIY window install can be your cost entirely. A licensed and insured contractor’s work is covered differently, and the warranty on the installation itself backs the work if something fails. Before you start, call (844) 560-4526 and ask what the warranty looks like on a professional install – the estimate is free.
The Bottom Line
The line between DIY and professional window and door work in Glendale runs along the building envelope. Interior doors, hardware replacement, and small mechanical fixes are fair game. Anything that penetrates the weather barrier, touches a header, or triggers Title 24 documentation isn’t. The rough opening tolerance (1/4 inch is fine, 1/2 inch needs attention, more than that needs rebuiluilding), the flashing sequence, and the permit paperwork are why the “easy” exterior projects aren’t. Do the interior work yourself if you want to. Call us for the rest. Ask anyone on your street, or look up the license number yourself.
Get a Free Estimate on the Work You Shouldn’t Do Yourself
Every eligible job we do comes with permits pulled and inspections signed, and every completed job is backed by our written 90-Day Done Right Promise – if something isn’t right, one call brings us back to make it right. If you already have a written estimate from another contractor, we’ll give you a free second opinion on it, and the senior and veteran 10% discount applies if it fits your situation. Whether you’re in Adams Hill, Sparr Heights, or anywhere else in Glendale, we’ll walk the openings with you and tell you honestly what’s DIY and what isn’t. Call Fence Installation in Glendale at (844) 560-4526 for a free estimate.
Written by the team at Barrett & Sons Construction Glendale.