
Last updated November 17, 2026
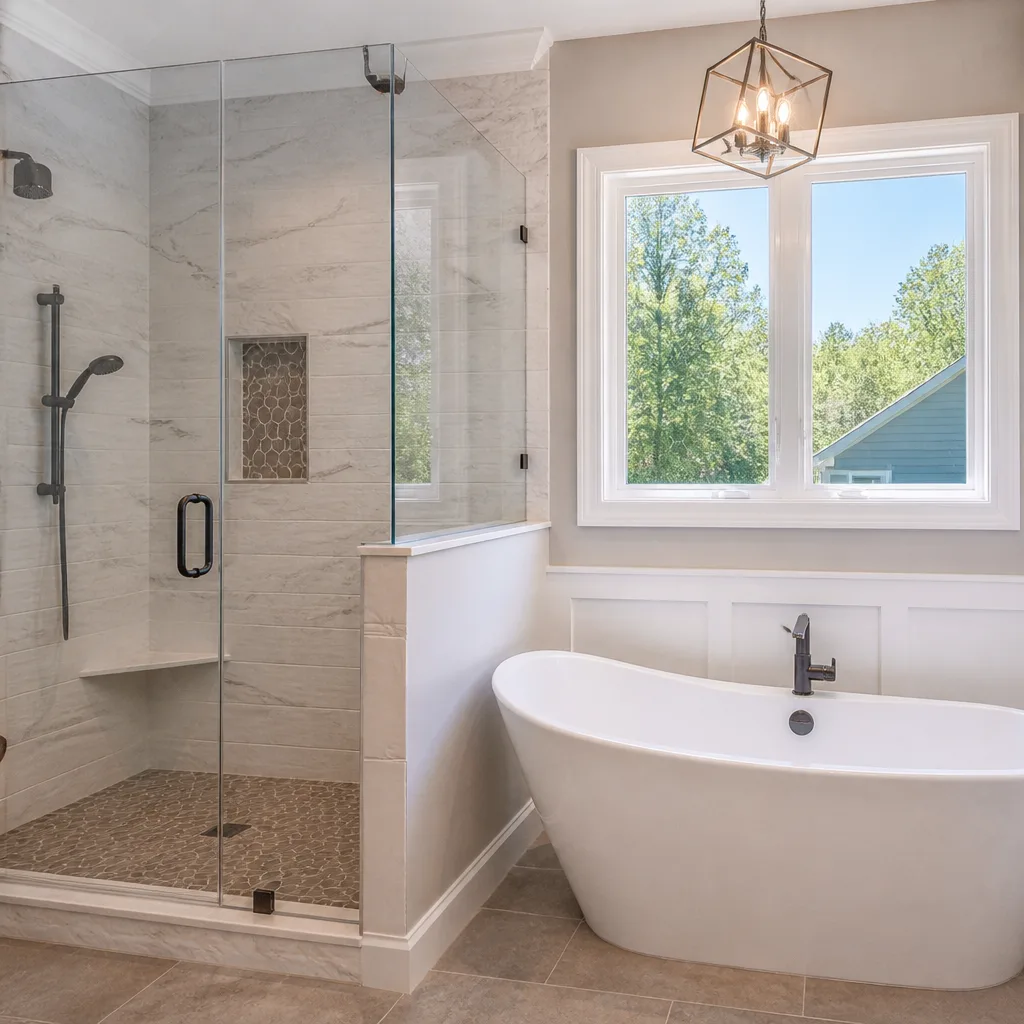 Bathroom remodeling
 Kitchen remodeling
 Home additions & ADU
 Roofing
 Windows & doors
 Driveway & pavers
 Fence
Free written scope consultation - allowances, timeline, and change-order rules on paper before a single trade is scheduled
Bathroom Remodeling Troubleshooting: Common Problems and How to Fix Them
Tile grout that cracks in the first year almost never fails because of the grout. It fails because of what wasn’t done to the substrate underneath it. We’ve pulled up plenty of failed shower floors in Glendale where the grout looked fine right up until it started coming loose in sheets, and once the tile came up, the problem was obvious: no waterproofing membrane, or a drain flange sitting an inch too low, or backer board screwed straight over greenboard with nothing between them. The homeowner didn’t miss anything. They just didn’t know what to look at while the walls were still open. That’s what this guide is for: the specific things to check at each stage, so a problem gets caught on the contractor’s time instead of yours. Call (844) 560-4526 if you’d rather have a second set of eyes on a project in Glendale.
Quick Answer
Most bathroom remodel problems that surface after the job is done were visible during construction – cracked grout usually means the substrate moved, a mirror that stays fogged usually means the exhaust fan is undersized for the room’s cubic feet, and recurring leaks usually trace back to a moisture barrier or drain flange that was never set right. You catch them by inspecting at five specific stages: before backer board goes up, before tile goes down in any wet area, before grout is applied, after the fan is wired, and at final walkthrough. If something’s wrong, request a written correction in writing before work continues.
Styles & brands we work with
- Kitchen remodeling
- Bathroom remodeling
- Home additions & ADU
- Roofing
- Windows & doors
- Driveway & pavers
- Fence
Table of Contents
- The Five Things to Inspect Before Drywall or Backer Board Goes Up
- What Wet Area Waterproofing Should Actually Look Like
- How to Spot Tile Lippage Before Grout Sets (and After)
- Why Your Exhaust Fan Fogs the Mirror Anyway
- Drain Flange Height and the Leak That Waits a Year to Show
- How to Document a Problem and Request a Correction Without a Fight
- Common Mistakes to Avoid
- Frequently Asked Questions
The Five Things to Inspect Before Drywall or Backer Board Goes Up
This is the single most important inspection window in the entire remodel. Once cement board is screwed to the studs, everything behind it is invisible for the next twenty years. In our experience walking through mid-project bathrooms in Glendale, this is exactly where we find the shortcuts the last crew took. Here’s what to check, in order:
- Moisture barrier behind the backer board. In a wet area, there should be a continuous vapor-retardant barrier – typically a plastic sheet or a liquid-applied membrane – behind the cement board. It should run from the top of the shower surround down over the tub or shower pan lip and out to the floor. Look for tears, gaps at the seams, and any spot where it stops short of overlapping the pan.
- Drain flange height. The flange should sit flush with or just slightly above the finished tile plane, set in a bed of thinset with the weep holes clear. If it’s sitting an inch below the surrounding floor, water pools at the drain and the flange will eventually leak below. Ask the crew to show you how they’ve set it before the tile goes down.
- Rough-in measurements. The drain center should line up with the finished floor drain hole, the toilet flange should be centered within a quarter-inch of the finished wall, and the shower valve should sit at a uniform height across every Glendale bathroom – about 48 inches to the center is standard. Get these wrong and you’re living with it because the labor to move it now is nothing compared to moving it later.
- Blocking for grab bars. If you’re 50 or older, or you’re remodeling for someone who is, this matters. Wood blocking should be installed in the wall behind the shower at grab-bar height – usually 33 to 36 inches to the center – before backer board covers it. Without blocking, a grab bar has nothing to anchor to except unsupported tile. Code in Glendale generally calls for this on aging-in-place remodels.
- Vent clearance inside the wall cavity. Look for the exhaust duct and the electrical rough-in. There should be no spaces where plumbing vent pipes or electrical boxes block the path of the exhaust fan duct, and the fan duct should run to the outside of the house, not into the attic.
Write all five of these down on a clipboard and check them off in person. It takes twenty minutes and saves you thousands.
What Wet Area Waterproofing Should Actually Look Like
Waterproofing in a shower is not a single product. It’s a system, and each part of the system has to hand off to the next without a gap. What you’re checking for, before any tile goes down, is that the system is continuous. There are three common exterior signs:
- A continuous membrane at the seams. If the crew used a liquid-applied waterproofing (redguard, hydroban, or a similar roll-on), the seams between cement board panels should be taped and mudded, and the membrane should be feathered across each seam with no dry patches. You should see a uniform color – often a bright red or blue – covering everything from the shower valve up to the ceiling and out to the floor. If you see color breaks at the corners, that’s a problem.
- The shower pan has a sloped layer under it. The most common failure we see in Glendale is a shower pan that was built flat on the slab, then water getting behind the tile with nowhere to go. A proper pan has a pre-slope under the membrane so water always drains toward the weep holes. Ask to see the pan during the waterproofing inspection – before tile, before grout.
- The corners are either taped or reinforced. Inside corners are where membranes tear and water gets behind. If the crew used a sheet membrane (like Kerdi), inside corners should have pre-formed corner pieces. If they used a liquid, corners should be reinforced with mesh tape embedded in the membrane. If you see sharp painted corners with no reinforcement, that membrane is going to fail at the corners in three or four years.
None of that is a DIY job. Waterproofing done wrong a single time can cost $4,000 to $8,000 to tear out and rebuild in a Glendale bathroom. Ask the contractor to walk you through their waterproofing method before the first tile goes down. If they shrug or wave it off, that’s your answer.
How to Spot Tile Lippage Before Grout Sets (and After)
Lippage is the condition where one tile edge sits higher than the adjacent tile edge. A little is unavoidable in every tile job – the industry standard allows up to about 1/32 inch difference on grout joints, more on a heavily textured tile, but you shouldn’t feel it with your bare foot. Here’s how to catch it at the right time:
- Walk on it barefoot. Run your toes across every seam. You’ll feel the click before you can see it. This is the single fastest test and nobody does it.
- Set a straightedge across two adjacent tile edges. A four-foot level works. Hold it flat across the seams and look for daylight underneath. A shadow under one side means lippage.
- Use a flashlight at a low angle after dark. Shadows are exaggerated by raking light. A 10-degree flashlight across the floor reveals every high and low edge.
- Check the grout lines. If a grout line is noticeably deeper on one side of a tile than the other, that’s lippage. Even grout lines mean an even tile plane.
Before grout, you have real options: the tile can be pulled, the substrate can be built up in that spot, or the crew can use a slightly wider grout line to absorb the difference. After grout sets, your options narrow to re-tiling the area or living with it. That’s why tile lippage inspection needs to happen between tile-setting and grouting, not after.
Why Your Exhaust Fan Fogs the Mirror Anyway
The exhaust fan exists for one reason: to pull moisture out of the room. If a mirror fogs within 30 seconds of a hot shower and stays fogged for ten minutes, the fan is undersized or plumbed wrong. The fix is a simple rhyme with a real number attached:
For Glendale bathrooms, the target is a minimum of 1 CFM per square foot of floor area, and 50 CFM minimum for any full bath. A 5-foot-by-8-foot (40-square-foot) Glendale bathroom needs at least 50 CFM. A 6-by-9 (54-square-foot) bathroom needs at least 54 CFM. Add 20 percent for every full-height wall between the fan and the shower, because the wall blocks airflow.
Now, why does a properly-sized fan still fail? Three reasons we see again and again in Glendale jobs:
- The duct terminates in the attic or in a soffit that vents back into the house. It looks like it’s venting – flex duct runs up, disappears into the attic – but warm moist air just dumps into the attic and eventually finds its way back down.
- The duct is corrugated flex duct with too many bends, cutting the effective CFM by 30 to 50 percent. Rigid metal smooth-bore duct, run with as few elbows as possible, is the fix.
- The fan is wired to a timer or a switch that gets turned off within three minutes of showering. A properly sized fan needs to run 20 minutes after the shower ends. A humidistat switch handles this for you and is a $40 upgrade.
If you’re already remodeling, upgrading the fan to a 110 CFM model with a metal duct is a $150 to $300 job done during the rough-in. Skip it and you’ll be re-cutting drywall ceiling in a year.
Drain Flange Height and the Leak That Waits a Year to Show
This one deserves its own section because it’s the most expensive single failure in a bathroom remodel. A shower drain flange set at the wrong height can look fine through the grout and hold for a year, sometimes two, before the first sign of a problem – and that sign is often a water stain on the first-floor ceiling below.
What to check before tile goes down:
- Flange surface sits flush with or just above the finished floor. Higher is better than lower. A flange set below the tile plane means water can’t reach the weep holes.
- Weep holes are clear. The flange has small channels at the base – four of them on standard clamping ring drains. Thinset should not be smeared over any of them. Ask the crew to ream them with a small screwdriver before setting the drain.
- The membrane laps over the flange, not under it. If a sheet membrane was used, the membrane should come down and be bonded to the flange with the appropriate sealant, bolted between the two drain halves. If a liquid, it should roll down and seal to the flange. Any gap here is a slow leak.
- The clamp ring is tight. Two screws, tightened in a star pattern like a car tire, hand-tight plus a quarter turn.
We’ve pulled out shower floors in Glendale where the flange was set 5/8 inch too low. That’s the difference between a $250 rough-in adjustment now and a full shower floor teardown later.
How to Document a Problem and Request a Correction Without a Fight
Almost every contractor will fix a legitimate problem promptly if you bring it to them in a form they can act on. Escalating to a state licensing board should be the last resort, not the first move. What works is a clean, written, dated record. Here’s the sequence we recommend, and the sequence we follow when a client raises a concern with us:
- Take dated photos. A phone photo with the date metadata preserved. Multiple angles. Include a tape measure in the frame if the problem is dimensional – lippage, flange height, tile line height.
- Write it down in plain language. “Tile lippage at the shower floor north wall, approximately 1/8 inch at three tile seams, observed November 14, before grout.” No adjectives, just the fact.
- Send it in writing the same day. Email or text is fine. “Can you take a look at this at Monday’s walkthrough?” The written record is not an accusation – it’s a paper trail that protects both of you.
- Request a written response. A contractor who intends to fix the issue will respond in writing. That response is the change order or the correction agreement.
- Give one reasonable window for a fix. In a mid-project bathroom, a fix window is usually 3 to 7 days, because the correction often has to happen before the next stage.
- If the request goes unanswered, escalate. If the contractor doesn’t respond and doesn’t fix, escalate to the state licensing board and, if permits were pulled, to the local building department. Ask the inspector to look at the work – the inspector works for you, not for the contractor.
One call we always suggest: request the fix while the crew is still on site. Once the truck pulls away, the conversation is over the phone and the timeline is longer.
Common Mistakes to Avoid
- Not pulling a permit because “it’s just a bathroom.” As soon as plumbing or electrical is moved – and it almost always is in a remodel – a permit is required in Glendale. A contractor who tells you otherwise is telling you something important about their work.
- Skipping the pre-backer inspection. Once cement board goes up, the moisture barrier, drain flange and blocking are locked in. Do the inspection in person, with a printed checklist, before the screws go in.
- Buying an exhaust fan without sizing it. A $40 fan from the big-box store is going to be 50 CFM or less. Measure your floor square footage first, and choose the fan after.
- Letting the shower pan get built without a pre-slope. Waterproofing over a flat slab means standing water in the mud bed. Ask to see the pre-slope during the waterproofing inspection.
- Grouting over lippage. Once the grout sets, the cheapest fix is a re-tile. Before grout, a tile can be pulled for $30 in materials and an hour of labor. After grout, it’s a floor.
- Approving work by text without a change order. A verbal “go ahead” for scope change is exactly how a favorite old story starts. Every price change on a Barrett & Sons job arrives as a written change order before work moves.
- Living with a fogging mirror and assuming it’s normal. It’s not. If the mirror fogs for more than three minutes after the fan is on, the fan is wrong, the duct is wrong, or the switch is wrong.
See the difference
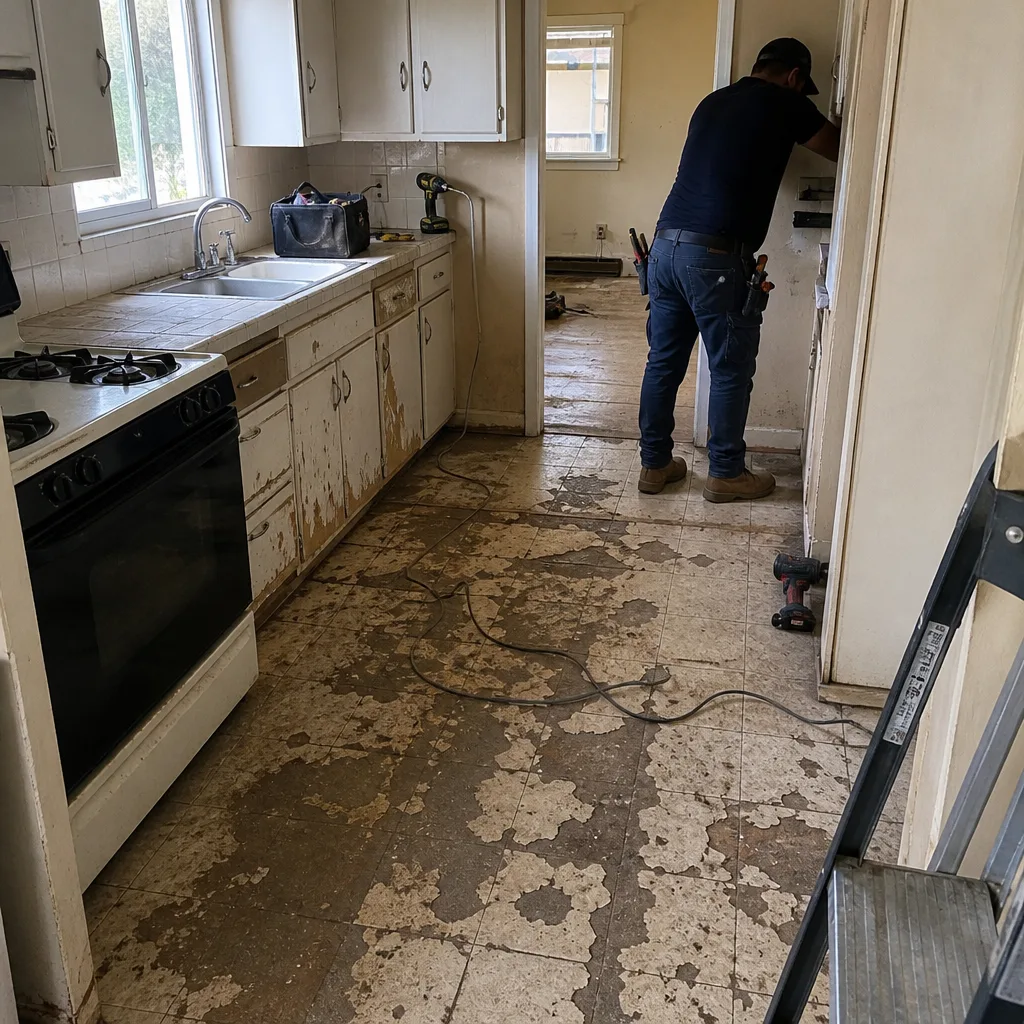 Before
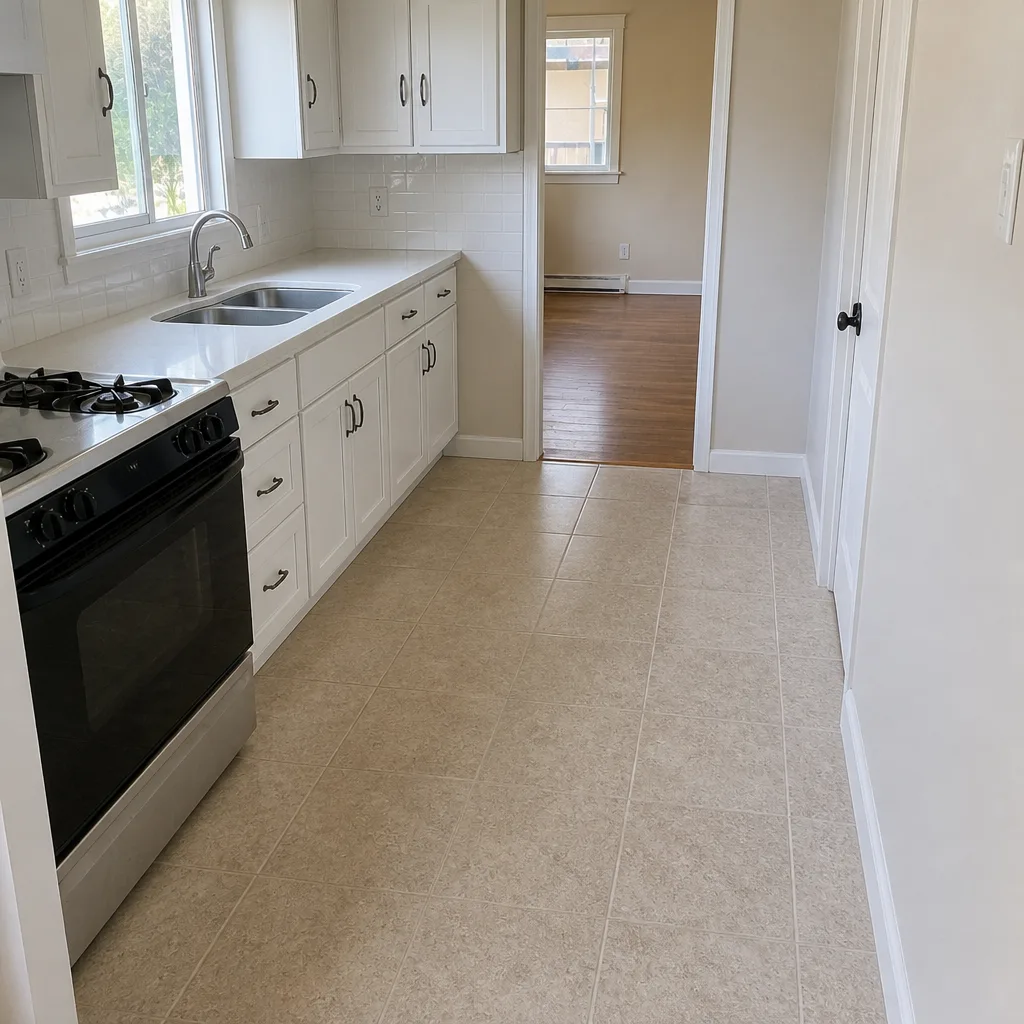 After
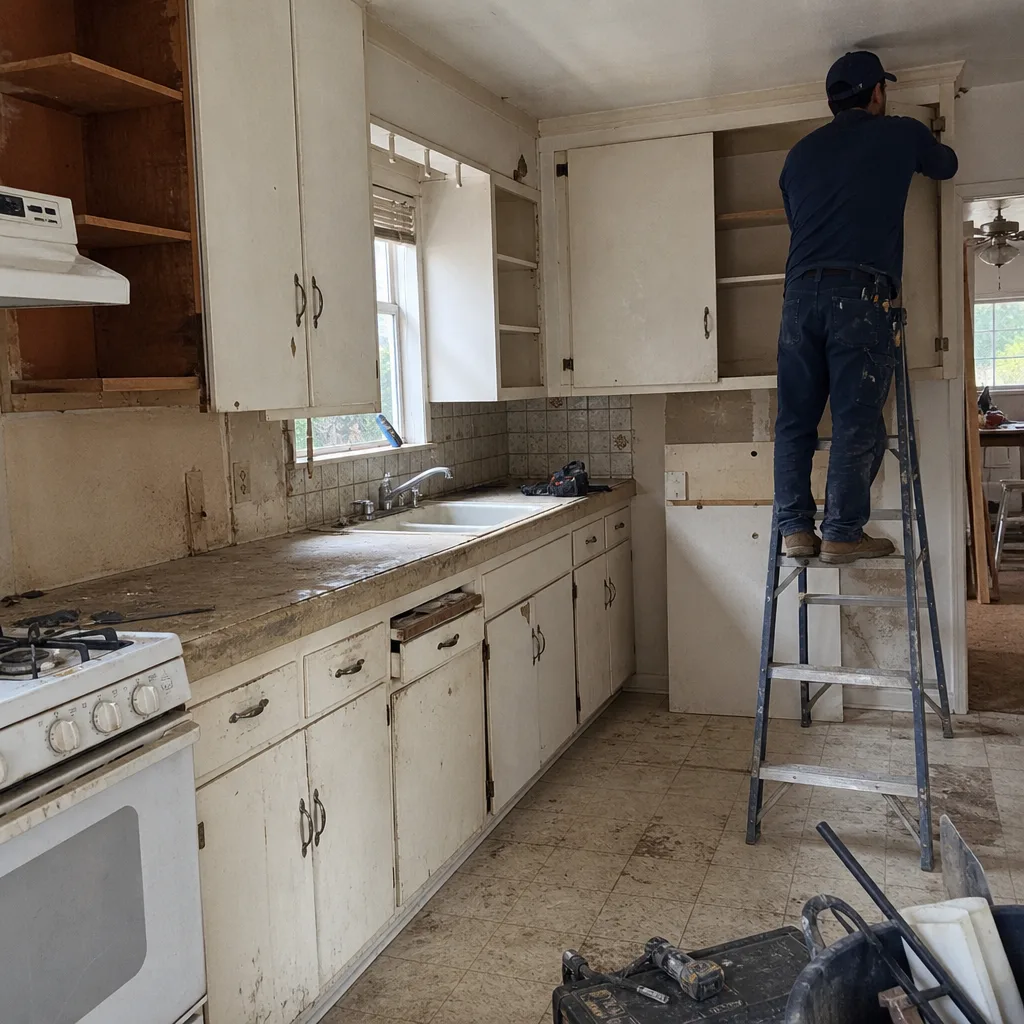 Before
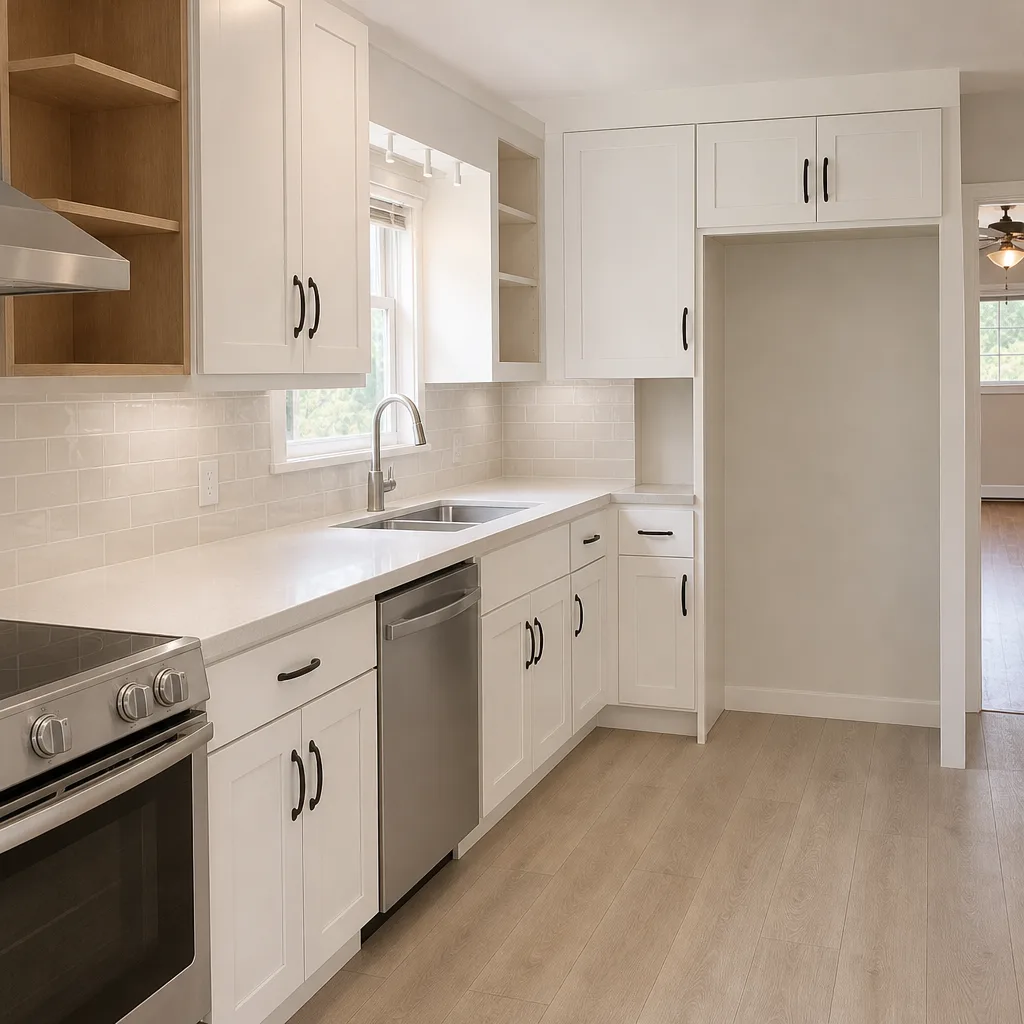 After
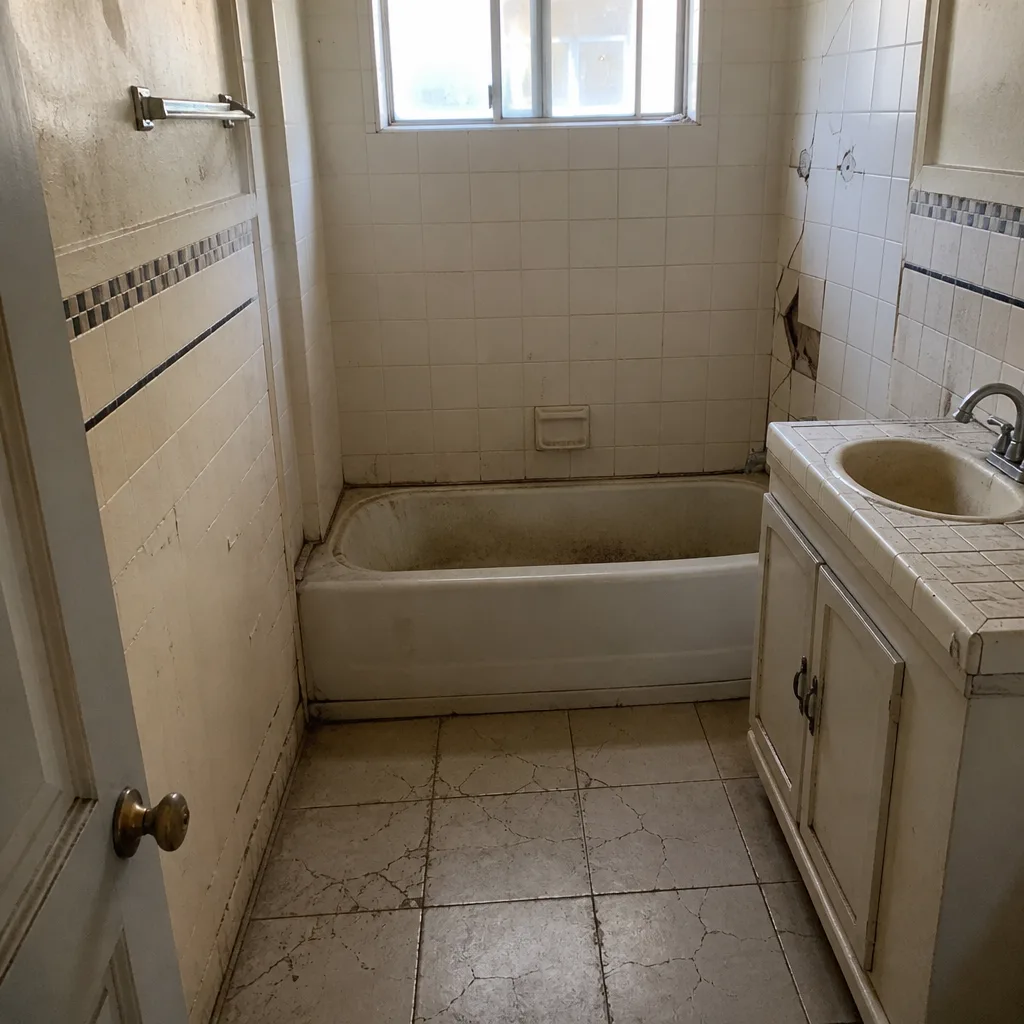 Before
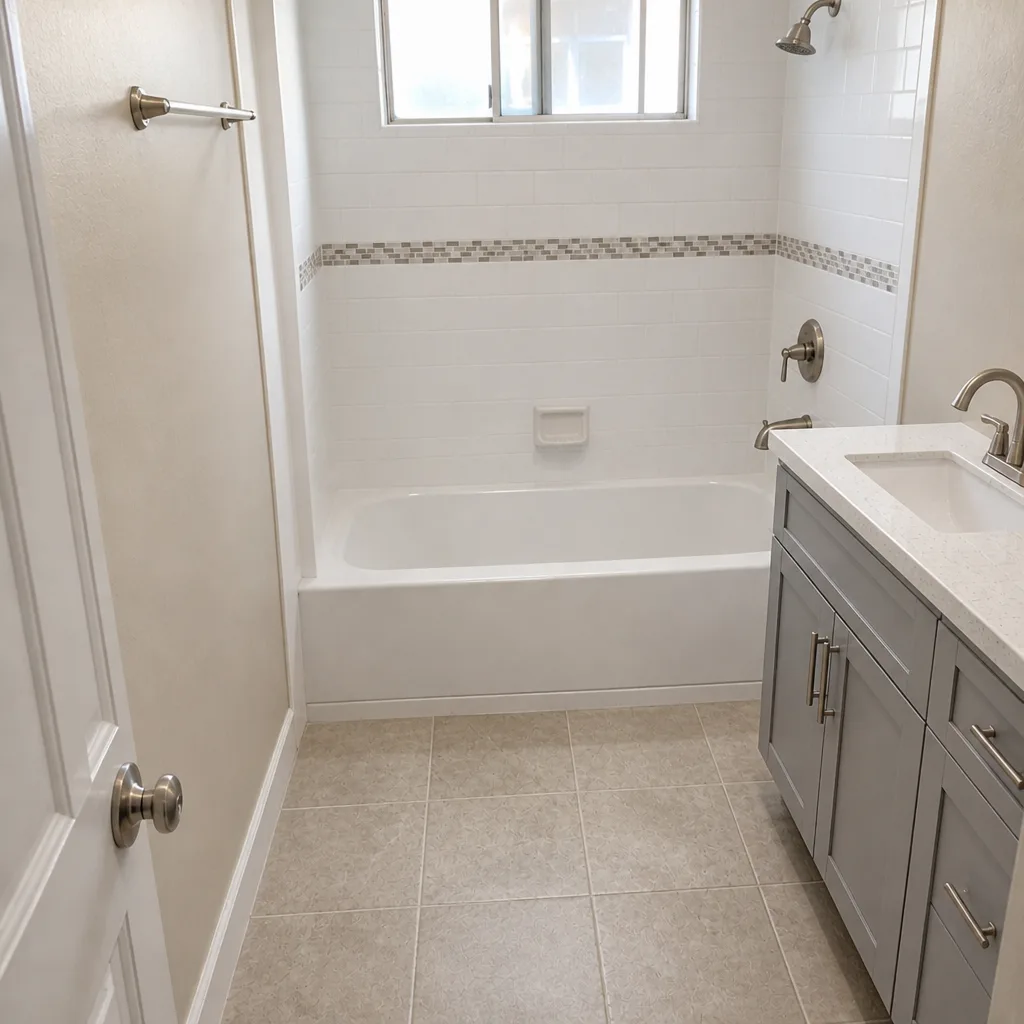 After
When to Call a Professional
Some bathroom problems are cosmetic and belong on your Saturday list. Some don’t. If the shower drain flange height, the waterproofing, the moisture barrier, the electrical rough-in for the fan or the permits are involved, call a professional. Water intrusion in a bathroom can run $4,000 to $8,000 to correct after the fact; a lot of that cost is the tear-out, not the fix. Structural blocking in a load-bearing wall, moving a vent stack, or relocating a toilet are all cases where an unpermitted fix causes years of problems that show up when you try to sell. Barrett & Sons Construction Glendale offers free estimates in Glendale – call (844) 560-4526, and a live person will pick up.
Frequently Asked Questions
Grout cracks because the surface under the tile is moving – either from a subfloor that flexes, a cement board that was screwed to a floor joist with too much span, or a shower pan that wasn’t built with a proper pre-slope. Grout is a weak material by design; it cracks because something behind it is doing the moving. The fix is not to re-grout the same way. It’s to identify what’s moving. Call (844) 560-4526 for a free estimate to diagnose and repair.
Ask the crew to show you the shower pan and walls before any tile is set, and look for three things: a continuous membrane from the shower curb up to the ceiling with no gaps at the seams, taped and reinforced inside corners, and a pre-slope under the pan membrane that visibly directs water toward the drain. If you can see bare backer board anywhere inside a wet area, ask what the waterproofing plan is. In Glendale, this inspection should be part of the pre-tile walkthrough every time.
Most often the fan is undersized for the room. A bathroom needs a minimum of 50 CFM, and 1 CFM per square foot of floor area. The second most common problem is that the flex duct vents into the attic instead of to the outside, and the third is that the fan is switched off within a minute or two after the shower ends. Sizing first, ducting second, switch third. Call (844) 560-4526 for a free estimate if you want it looked at.
Not easily. Once grout sets, the option is to remove and reset the affected tile or live with it. Before grout, lippage is a ten-minute fix. After grout, it’s an hour or more per tile, and there’s a fair chance the adjacent tiles chip during removal. If the lippage is bad and the job isn’t finished, ask the contractor to correct it before grouting – that’s what a written change order or correction request is for.
It depends on when the problem is caught. Before drywall or backer board, fixing the moisture barrier, drain flange, or blocking runs $150 to $400 because the fix is rough-in work. After tile is set, correcting the same issue requires tear-out, and Glendale prices typically run $3,000 to $8,000 depending on how much tile and shower pan has to come out. That’s why the pre-backer and pre-tile inspections are the most valuable twenty minutes of the whole project. Call (844) 560-4526 for a free estimate.
If you’re only changing finishes – paint, vanity, mirror, tile over existing – generally no. If plumbing or electrical is being moved, which is most cases, then permits are required and inspections need to be signed. In Glendale bathrooms, the permit inspection is a good thing for you: the inspector catches waterproofing and drain flange problems that a contractor might wave off. Barrett & Sons pulls permits and signs inspections on every eligible job.
The Bottom Line
The bathroom remodel problems that cost the most money were all visible during construction. Cracked grout is a substrate problem. A fogged mirror is a fan-sizing problem. A slow leak is a drain-flange problem. None of them are mysteries, and all of them can be caught at three checkpoints: before backer board goes up, before tile goes down in a wet area, and before grout is applied. If you’re remodeling in Glendale and would rather have someone walk you through each of those checkpoints, call Barrett & Sons Construction Glendale at (844) 560-4526 for a free estimate. Every job gets a written change order before any scope change, and every finished job is backed by our 90-Day Done Right Promise.
Written by the team at Barrett & Sons Construction Glendale.