
Last updated November 17, 2026
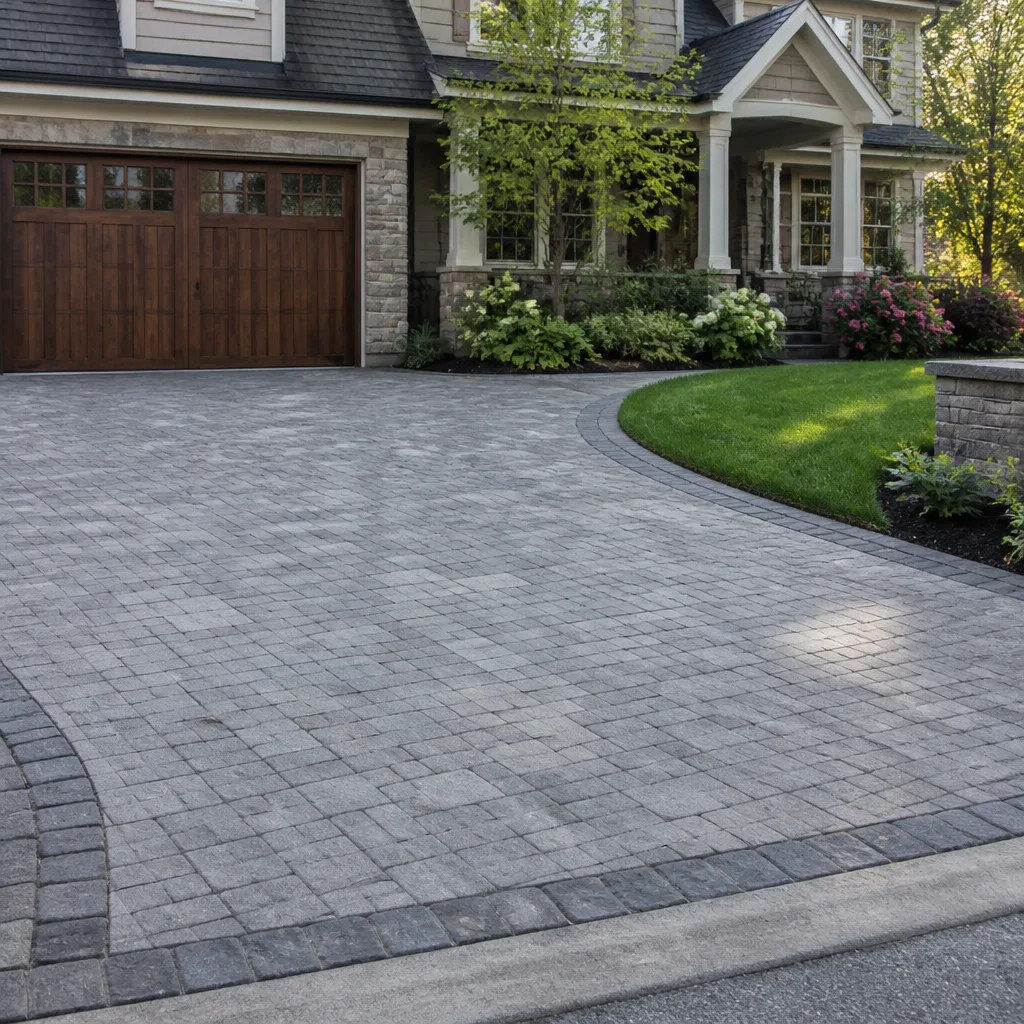 Driveway & pavers
 Kitchen remodeling
 Bathroom remodeling
 Home additions & ADU
 Roofing
 Windows & doors
 Fence
Free written scope consultation - allowances, timeline, and change-order rules on paper before a single trade is scheduled
Driveway & Pavers Warning Signs Every Homeowner Should Know
Most driveway damage we get called out to inspect in Glendale didn’t start last month. It started a year or two earlier, with something so small the homeowner walked past it a thousand times. A paver that rocks slightly when you step on it isn’t a loose stone. It’s a drainage failure a couple inches below the surface, and it’s telling you something about the six square feet around it before you spend money on the wrong repair. This guide translates those early signals – the rocking stone, the dark joint sand, the edge creeping outward, the stair-step crack – into plain language and a clear threshold for when to act.
Quick Answer
The most important driveway paver warning signs are pavers that rock underfoot, joint sand that has turned dark and dropped below the paver surface, edge stones migrating outward, and cracks that stair-step across the field. Each one points to a base, drainage, or edge-restraint problem rather than surface wear. Caught early, most of these are small repairs; ignored, they usually mean lifting and resetting a whole section.
Styles & brands we work with
- Kitchen remodeling
- Bathroom remodeling
- Home additions & ADU
- Roofing
- Windows & doors
- Driveway & pavers
- Fence
Table of Contents
- The Rocking Paver Test: What One Loose Stone Reveals
- Reading Joint Sand Color and Depth as a Drainage Signal
- Edge Pavers That Are Migrating Outward
- Stair-Step Cracking vs. Point-Load Cracking
- The Smell-and-Stain Combination Near the Garage Apron
- Why Glendale’s Climate Wears on Pavers Differently
- Your Action Threshold: When Minor Becomes Urgent
- Common Mistakes to Avoid
The Rocking Paver Test: What One Loose Stone Reveals
Step on a paver and feel it tip, even a sixteenth of an inch, and you’ve found the first symptom of a problem underneath. A properly bedded paver sits on a compacted base course over a thin sand setting bed, held tight by joint sand and edge restraint on all sides. When it rocks, one of those four things has failed. Usually it’s the base.
What happens next matters more than the loose stone itself. Every time that paver tips, it works sand out of the joints around it and grinds the setting bed beneath it. Water gets in faster. The base softens a little more. Within a season or two, the paver next to it starts to move too.
Here’s the test we walk homeowners through:
- Press down on one corner of the suspect paver with your foot, then the opposite corner. Movement in one direction means a void under that corner. Movement in both directions means the base has lost compaction across the whole footprint.
- Look at the joints on all four sides. Joint sand washed out or sunk low around a rocking stone confirms water is moving through.
- Check for a hollow sound. Tap with a wrench handle. A dull thud instead of a tight click means the setting bed is gone under that stone.
- Check the neighbors. If the two or three pavers around it are still solid, you’re catching it early and the repair is small.
One rocking paver in a field of solid ones is a spot repair. Four or five rocking in a cluster is a base problem, and that cluster usually needs to come up. If you’re seeing this on a driveway in Glendale’s foothill neighborhoods, where a lot of drives sit on graded slopes, the cause is even more likely to be water finding a low spot in the base than traffic wear.
Reading Joint Sand Color and Depth as a Drainage Signal
Joint sand is the cheapest diagnostic tool you own, and almost nobody looks at it. New polymeric or washed joint sand fills the gap flush with the paver surface and stays a fairly uniform light tone. When it starts looking wrong, it’s telling you water is spending too much time in the joints instead of running off the surface.
Too dark means the sand is staying wet. Dark sand in one continuous band, rather than scattered damp patches after rain, points to water pooling or flowing through that area. That’s a grading or drainage issue, not a sand issue. Re-sanding without fixing the cause just restarts the clock.
Too low means the sand has been washed or blown out, or the pavers are spreading and the joints have widened. Joints that are visibly wider than others on the same drive are the clearest sign of lateral movement. Once sand drops a half inch or more below the surface, the pavers start losing their interlock and the whole field gets looser with every rain.
What to check, and when:
- Walk the drive after a heavy rain and photograph any spot still dark the next morning. That’s your drainage low point.
- Compare joint width in the middle of the drive to the edges. If the middle joints are wider, the field is spreading.
- Look for sand collecting in a line at the bottom of the drive or against the garage door. Sand leaving the joints has to go somewhere, and where it lands tells you the direction of water flow.
In Glendale, we see this pattern a lot on drives that take runoff from a neighboring slope or a downspout that dumps onto the pavement. Moving the water source is usually the first fix, then re-sanding the joints once the pavement is dry.
Edge Pavers That Are Migrating Outward
The outer edge of a driveway takes the most abuse and has the least support. Edge pavers stay put because of a restraint – a concrete curb, an aluminum or plastic edge restraint, or a soldier course set against a compacted shoulder. When that restraint weakens or the shoulder settles, the pavers start walking outward, a fraction of an inch at a time.
The timeline is fairly predictable, and it’s why we tell homeowners to look at the edges first:
- Months 1 to 6: The outer paver sits a hair proud of its neighbor. Joints at the edge widen slightly. Easy to miss.
- Months 6 to 18: The edge course starts to tip, the joint sand at the perimeter washes out, and you can slide a putty knife into the seam.
- Beyond 18 months: Several edge pavers shift as a group, the soldier course loses alignment, and grass or soil starts creeping into the gap. At this point the restraint is gone and the field begins to unzip from the edge inward.
The fix at stage one is often re-compacting the shoulder and resetting the edge restraint. At stage three, it’s lifting the perimeter courses and rebuilding the edge, which is a much bigger job. Once the edge is restored, if the driveway meets a boundary you’ve been meaning to define anyway, that’s often the same visit as a new Fence Installation in Glendale – the two projects share the same equipment and the same soil conditions.
Stair-Step Cracking vs. Point-Load Cracking
Not all cracks mean the same thing. The pattern tells you what’s happening, and getting the diagnosis right is the difference between a $300 repair and a full section rebuild.
Stair-step cracking runs diagonally or in a zigzag pattern, usually following the joints, and often shows up at a slope transition or where the driveway meets a walkway or apron. It’s a sign of movement along a slope, or of a base that’s settling unevenly across a grade change. If the two sides of a stair-step crack are at different heights – even a quarter inch – the slab or paver field has shifted, and that’s a base and drainage issue.
Point-load cracking radiates outward from a single spot, like a spider web, and it’s almost always where a heavy vehicle parks or where a delivery truck wheel sat. The base under that one point wasn’t thick enough for the load. A paver cracked in a point-load pattern with the surrounding field intact is a localized fix.
How to tell them apart and what to check:
- Run a straightedge across the crack. If one side is proud, it’s a slope or settlement issue.
- Note whether the crack follows joints or cuts across pavers. Joint-following means lateral movement; cross-cutting means the paver itself failed.
- Watch the crack across a wet season. A crack that changes width from summer to winter points to soil movement, not a one-time load.
In Glendale, drives built on the slopes above the Verdugo Wash tend to show stair-step patterns where the base meets a grade change, especially after a wet winter following several dry years. That’s a soil-moisture story as much as a pavement story, and it’s worth having someone look at the drainage before patching anything.
The Smell-and-Stain Combination Near the Garage Apron
This one is the sleeper. You notice a damp, earthy smell near the garage door on warm days, and there’s a dark stain on the apron or the first few pavers. Maybe a patch of moss or algae that keeps coming back. Homeowners assume it’s a spill or shading. Sometimes it is. But when the smell and the stain show up together and keep coming back, it’s worth checking for a slow irrigation leak or a broken sprinkler line under or beside the apron.
Here’s how a small leak does real damage. Water seeps under the apron and saturates the base. The base loses compaction. The pavers over it start to rock, the joints open, and the apron begins to settle toward the house. Because it’s a slow leak, the soil never fully dries, so the damage keeps advancing between rainstorms – and in Glendale’s dry months, a broken drip line can quietly feed that same spot all summer.
What to check before you assume the worst:
- Turn off the irrigation for three or four days, then look at the stain. If it dries out and stays dry, you’ve likely found the source.
- Walk the sprinkler zone near the apron and look for a soft, sunken spot or a head that’s not popping up right.
- Check your water meter with everything off. If the dial moves, you have a leak somewhere on the system.
If the stain keeps coming back with the irrigation off and the base is soft underfoot, it’s time for a professional look – the fix involves lifting pavers and addressing the base, not just drying the surface.
Why Glendale’s Climate Wears on Pavers Differently
Pavers in Glendale live a particular life. The dry season drives moisture out of the base and the soil under it, so the ground shrinks. Then the winter rains come, and the soil swells and the water moves. That wet-dry cycle is hard on pavement, and it explains why so many of the problems in this guide show up in the spring – after a wet winter has finished working on a base that’s been drying since the previous spring.
The foothill neighborhoods north of Foothill Boulevard, and the streets that climb into the hills, sit on graded slopes with varying soil. Water runs off those slopes fast and finds the low side of a driveway, which is often the garage apron. On flatter ground near downtown and south Glendale, the issue is more often poorly drained soil holding water under the pavement after rain. Same symptoms, different cause, and the fix depends on which you have.
One more local factor: mature street trees. Roots from a large ficus or eucalyptus can lift a driveway edge or a section over time. If the damage traces a line back toward a tree, the tree is part of the conversation, and any repair should account for what the roots will do next.
If your next project is more than a repair – a wider drive, a new walk, a patio around the house – that’s a bigger conversation about materials and layout, and it’s the kind of thing we handle as part of our Driveway & Pavers in Glendale work. Premium hardscape brands like Belgard and Techo-Bloc are on our list for projects like this, so the products are things you can look up rather than mystery materials.
Your Action Threshold: When Minor Becomes Urgent
The whole point of learning these signs is to know when to act, and the honest answer is that most of them have a window. Here’s how we’d score it.
Watch and re-check next season: a single rocking paver, a small patch of dark joint sand, a hairline crack with no height difference. Photograph it, date the photo, and check it after the next wet season.
Schedule a repair this season: two or three rocking pavers in a cluster, joint sand below the surface in a continuous band, an edge paver standing proud, a stair-step crack with a visible height difference. These are the ones that get more expensive with delay.
Call now: a soft, spongy spot in the base, the apron settling toward the garage, water draining toward the house, or a persistent stain and smell that doesn’t quit when the irrigation is off. Those are the ones that can turn into foundation or water-intrusion problems if they’re left.
None of these need a panicked phone call. They need a real look, a written scope, and a decision. That’s how we work on every job – the written change order exists so nobody gets surprised at the end. For a look at how we handle a broader renovation, our Home Additions & ADU in Glendale page shows the same approach on bigger projects. And if you’re weighing a prefab structure like a Tuff Shed or a James Hardie-clad addition, the paving under it gets planned the same way.
Common Mistakes to Avoid
- Re-sanding without fixing the drainage. Fresh sand in a joint that’s dark for a reason just washes out again next rain. Find the low spot first.
- Ignoring a single rocking paver because it “still works.” That one stone is grinding its setting bed down every time someone steps on it. The cost of fixing one paver today is a fraction of fixing four in six months.
- Patching cracks with filler and calling it done. Filler on a stair-step crack masks the movement, and the crack comes back wider. The pattern told you what was wrong; address the cause.
- Laying new pavers over old, failing ones. It’s the fastest way to inherit the old base problem with a brand new surface on top of it.
- Skipping a permit-minded contractor. Grading, drainage changes, and any work near a property line can need a permit. A contractor who tells you permits are optional isn’t saving you anything – they’re passing the risk to you.
- Not getting the scope in writing before work starts. An allowance that isn’t on paper is a surprise waiting for a date. That applies to a paver repair as much as a kitchen.
- Choosing the lowest bid without verifying the name on the truck. A price you can’t trace back to a licensed, insured, local company isn’t a bargain. Look up the license number before you sign.
See the difference
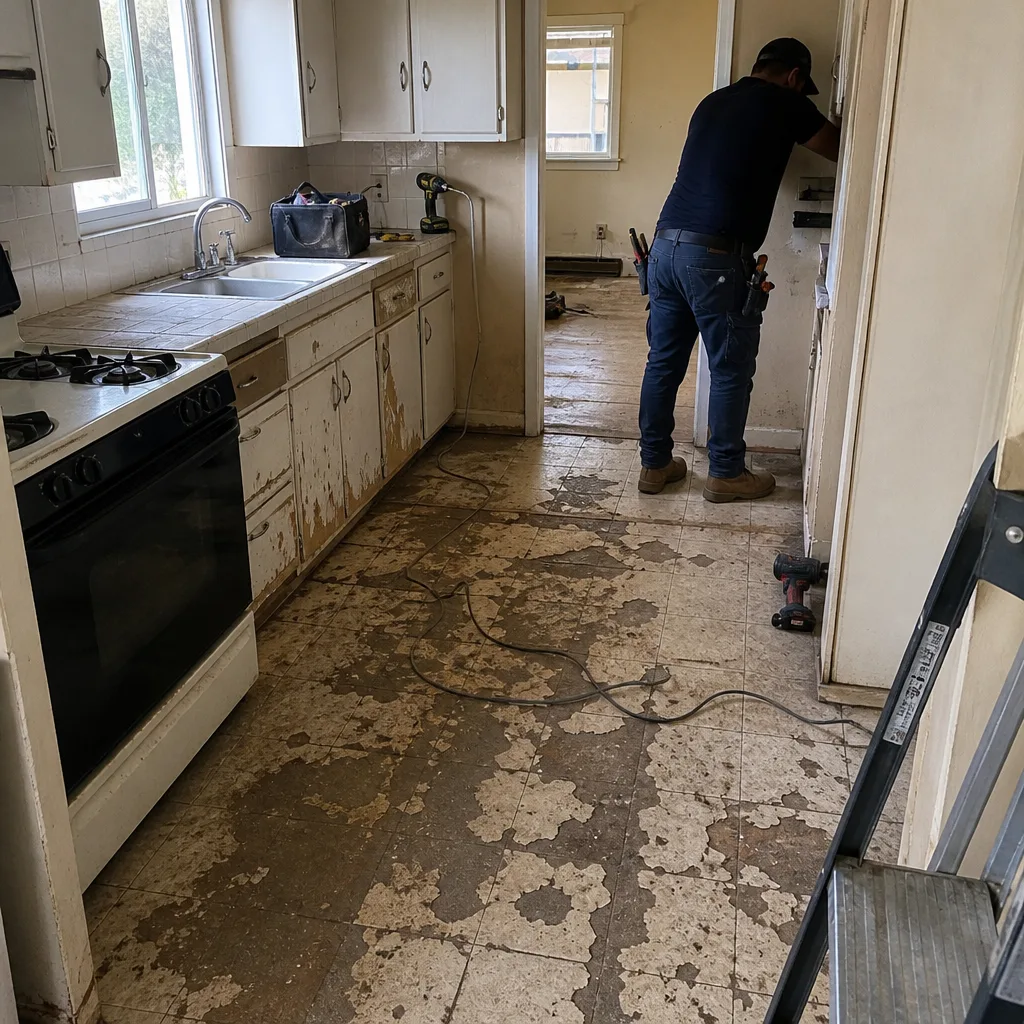 Before
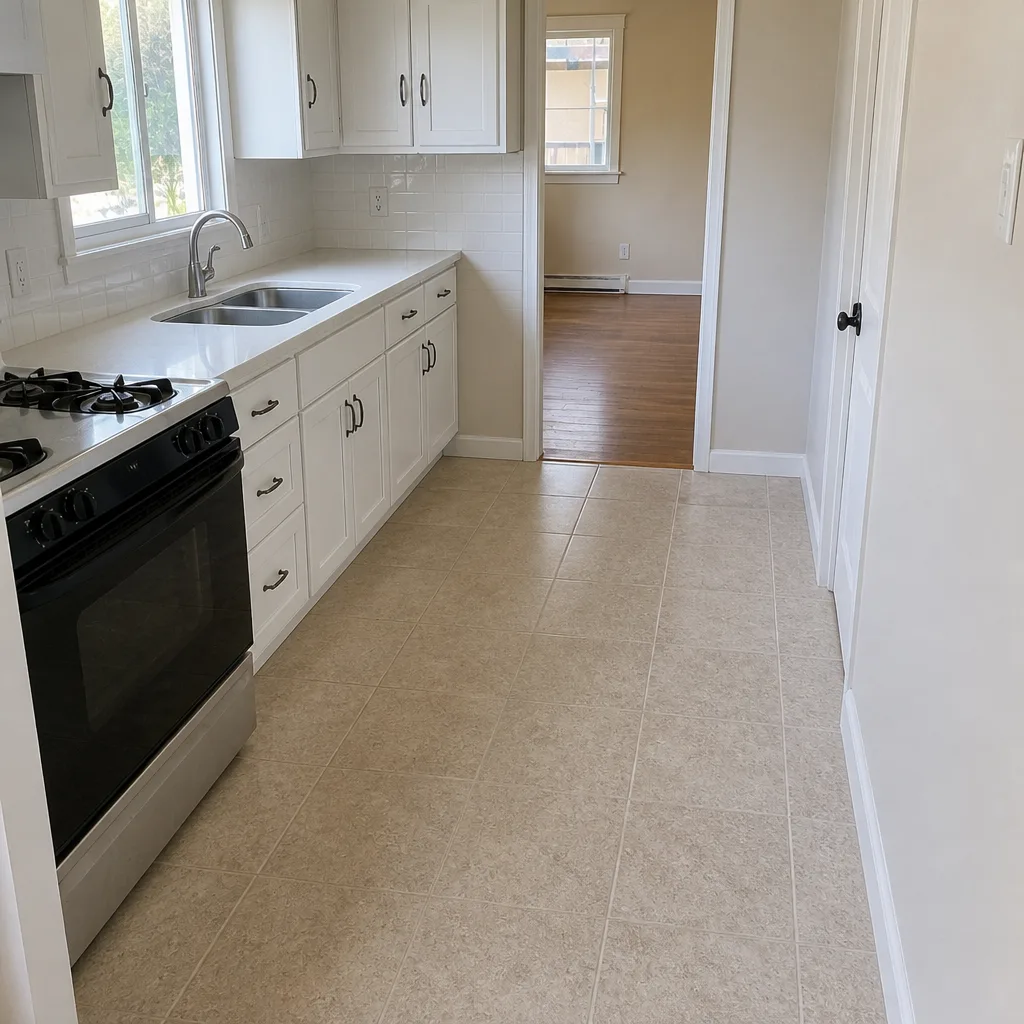 After
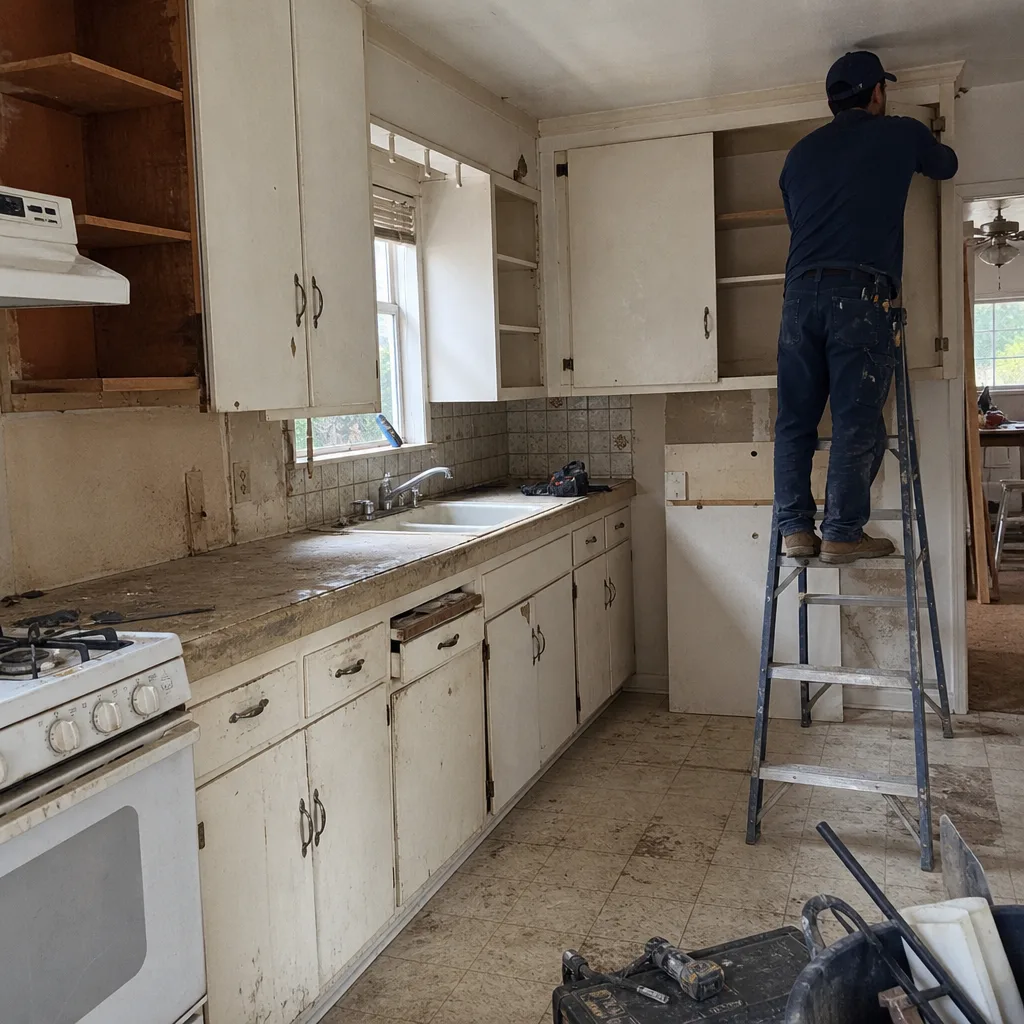 Before
 After
 Before
 After
When to Call a Professional
Call a professional when you find more than one warning sign in the same area, when a paver has moved enough to trip someone, when water is draining toward the house or garage, or when the same crack keeps opening after a patch. Those are the situations where the wrong repair costs more than the right one, and where lifting a section to look at the base is the only honest way to answer the question. The other time to call is before you spend money on a repair you’re not certain about – a second opinion on a written estimate is free, and it’s cheaper than guessing. Barrett & Sons Construction Glendale offers free estimates in Glendale – call (844) 560-4526 and we’ll take a look, tell you what we see, and put the scope in writing.
Frequently Asked Questions
A single-paver repair typically runs a few hundred dollars, and a clustered repair involving four or five pavers plus base correction runs higher because the stones have to come up, the base gets re-compacted, and the joints get re-sanded. Pricing depends on whether the fix is a spot repair or a base repair. Call (844) 560-4526 for an exact quote – estimates are free, and we’ll tell you which one you’re looking at.
No. A dry spell may tighten the joint sand enough that the stone doesn’t rock as much, but the void under the base is still there and water will find it again next rain. The movement quieting down is a temporary break in the symptom, not a cure. Getting it looked at before the next wet season is the move – call (844) 560-4526 for a free look.
Walk it the morning after a rain and look for spots still dark, joint sand sitting low in a continuous band, or water pooling at the garage apron. Those are drainage symptoms, and in Glendale the spring after a wet winter is when they show up most. A free estimate can confirm what’s causing it – call (844) 560-4526.
Not without your signature. Every scope, every allowance, and every price change is issued as a written change order before the work happens. If the base under your driveway turns out to be worse than the surface suggested, you’ll see the added scope in writing and approve it before anything moves forward. That’s the whole point. Call (844) 560-4526 to start with a free estimate.
When a job requires a permit, we pull it and get the inspection signed. The permit inspector works for you, not for us, and having that sign-off on record protects the value of your property. If a contractor tells you permits are optional, that’s a warning sign of its own.
Not always. A single paver cracked in a spider-web pattern under a heavy load is often a localized failure with an intact base around it. A crack that stair-steps across joints, especially with a height difference on either side, points to slope or base movement and deserves a closer look. When in doubt, get a free estimate – call (844) 560-4526.
The Bottom Line
Driveway pavers tell you about problems months before they get expensive, but only if you know what the early signs actually look like. A rocking stone, dark and low joint sand, an edge creeping outward, a stair-step crack, or a persistent stain near the apron are all messages from the base and the drainage, not the surface. Catch them early and you’re looking at a spot repair. Ignore them and you’re looking at lifting a section. The threshold is simple: one small sign can wait to be re-checked next season, but a cluster of signs or water heading for the house should get a professional look now. That look is free, and Barrett & Sons Construction Glendale back every job with permits pulled, a written scope, and our 90-Day Done Right Promise. Call (844) 560-4526 to schedule your free estimate, and if you want to see how we approach the whole property, start with our Barrett & Sons Construction Glendale home page.
Written by the team at Barrett & Sons Construction Glendale.